There’s a specific kind of quiet that only exists on a grey, drizzly morning. The world feels soft at the edges. And in the center of that quiet is the gentle, glugging bubble of oats cooking on the stove. This isn’t just breakfast. This is a hug in a bowl. It’s the food equivalent of my favorite, slightly frayed wool sweater. My method is less of a recipe and more of a ritual, passed down from my Scottish grandmother who would have scoffed at the very idea of making it in a microwave.
Quick Look
| Prep | Cook | Total | Feeds | Level |
|---|---|---|---|---|
| 2 mins | 15-20 mins | ~20 mins | 1 Hungry Adult | Beginner |
Why You’ll Love This Recipe
- It’s foolproof. Once you learn the ratio, you can make perfect porridge forever, no recipe needed.
- The texture is dreamy. Creamy, cozy, and comforting without being gluey.
- It’s the perfect blank canvas. Sweet, savory, simple, or decadent—it’s all up to you.
- It will make your house smell like a safe, warm place.
Grab These
- 1/2 cup old-fashioned rolled oats (please, not instant or quick-cook for this)
- 1 cup liquid (I use 3/4 cup water + 1/4 cup whole milk or oat milk for the perfect balance)
- A tiny pinch of fine sea salt (non-negotiable, it makes the oats taste more oaty)
- Toppings of your choice (see below for my favorites)
Let’s Make It
The most important step happens before you even turn on the stove. Get a small saucepan—I have this little beaten-up one that I use for nothing else—and add your oats, liquid, and that crucial pinch of salt. Give it a quick stir. Now, walk away. Let it sit for just five minutes. This little soak helps the oats start to absorb the liquid, which leads to a much creamier final texture and a slightly quicker cook time.
Now, place your pot over medium-high heat and bring it to a boil. This should only take a few minutes. The moment you see big bubbles breaking the surface, immediately reduce the heat to low. I mean the lowest setting your stove has. We are not boiling the life out of these oats. We are coaxing them into creaminess.
This is where the patience comes in. Let it simmer gently, giving it an occasional stir with a wooden spoon to make sure nothing sticks to the bottom. You’ll notice the porridge start to thicken and the bubbles will become lazy and gloppy. Let it go like this for about 8-12 minutes. You’re looking for a texture that is thick and creamy, but still flows easily off your spoon. It should coat the back of the spoon nicely.
When it’s reached your desired consistency, take it off the heat. This next part is my grandmother’s secret: let it rest, covered, for two minutes. Just two. Walk away. Set a timer if you have to. This allows the last bit of water to absorb fully and the porridge to settle into its final, perfect texture. Then, and only then, do you stir in any mix-ins like a pat of butter, a drizzle of maple syrup, or a splash of cream. Pour it into your favorite bowl and top with abandon.
Nutritional Facts (Base Recipe, No Toppings)
| Nutrient | Amount |
|---|---|
| Calories | ~190 kcal |
| Protein | 7g |
| Carbohydrates | 33g |
| Fat | 4g |
| Fiber | 5g |
| Sugar | 2g |
| Note: Values are estimates |
Variations & Add-Ins
- Coconut Dream: Use 1 cup of canned light coconut milk as your liquid. Stir in a tablespoon of shredded coconut and some mango chunks at the end.
- Savory Supreme: Cook the oats in vegetable or chicken broth. Top with a soft-boiled egg, a drizzle of soy sauce, sesame seeds, and sliced green onions. Don’t knock it till you’ve tried it.
- “Carrot Cake” Porridge: When you start cooking, grate in a small carrot and add a pinch of cinnamon, nutmeg, and a tablespoon of raisins. Sweeten with maple syrup at the end.
Serving Ideas
- The Classic: A knob of good salted butter, a generous drizzle of honey or maple syrup, and a splash of cold milk or cream.
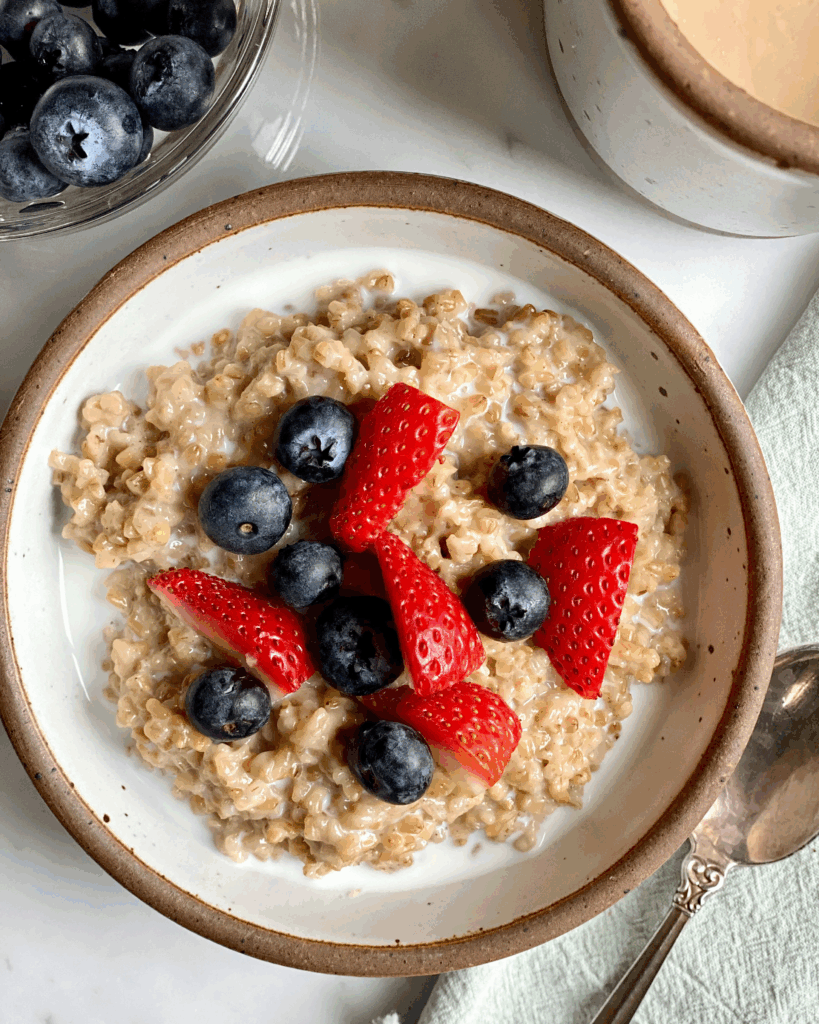
- The Power Bowl: A big spoonful of almond butter, a handful of berries, and a sprinkle of hemp seeds.
- The Autumn Spice: Sliced bananas, a sprinkle of cinnamon, and a few toasted walnuts. Feels like falling leaves.
Storage & Reheating
Yes, you can keep leftovers! Porridge thickens up a lot in the fridge. Store it in an airtight container for up to 3 days. To reheat, add it back to a small pot with a splash of milk or water. Gently warm it over low heat, stirring frequently, until it’s loose and creamy again. The microwave works in a pinch, but do it in 30-second bursts and stir well between each.
My Two Cents
That final two-minute rest off the heat is the game-changer. I’m serious. It’s the difference between good porridge and sublime porridge. It’s the step that keeps it from being gummy. Don’t you dare skip it.
You Asked, I’m Answering
- “Why do you use water and milk? Can I use all milk?” You can, but all milk can make it overly rich and it’s more prone to scorching on the bottom. The water-milk combo gives you creaminess without being too heavy. If you use all milk, keep the heat very low and watch it like a hawk.
- “My porridge always boils over! Help!” Ah, the volcano effect. The key is that immediate heat reduction the second it boils. Also, using a slightly larger pot than you think you need gives the bubbles more room to play without escaping.