I’ll never forget the first time I made real vanilla bean ice cream. It was for my dad’s birthday, and I’d saved up for what felt like forever to buy a single, plump vanilla bean. I split it open, scraped out those tiny, fragrant seeds, and steeped them in the warm cream. The smell… it was like bottled warmth and comfort. When he took that first bite, he closed his eyes and was quiet for a full ten seconds. Then he said, “Clara, this is it. This is the one.” Store-bought vanilla just can’t compete. It’s the quiet hero, the blank canvas for all our favorite pies and crumbles, and it deserves to be made from scratch.
Quick Look
| Prep | Cook | Churn | Total | Feeds | Level |
|---|---|---|---|---|---|
| 15 mins | 10 mins | 25-30 mins | 4+ hrs (chilling) | About 1 Quart | Easy |
Why You’ll Love This Recipe
- It’s a flavor revelation. Using a real vanilla bean gives you a depth and complexity that extract alone just can’t match.
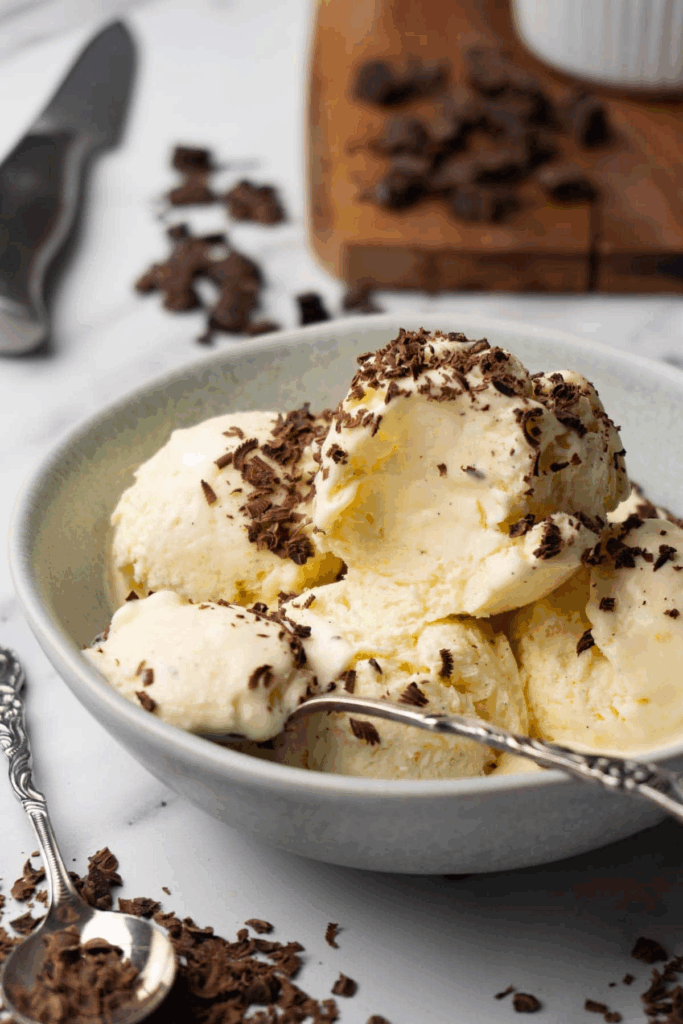
- It’s your dessert soulmate. Perfect in a bowl, sublime with a slice of warm apple pie, and the only thing that should ever go near a hot brownie.
- It feels fancy, but it’s fundamentally simple. No fancy techniques, just good ingredients treated with respect.
Grab These
- 1 ½ cups heavy cream
- 1 ½ cups whole milk (don’t you dare use skim)
- ¾ cup granulated sugar
- A pinch of fine sea salt
- 1 plump, high-quality vanilla bean (I swear by Nielsen-Massey)
- 5 large egg yolks
- 1 teaspoon pure vanilla extract (this is our backup singer, adding a little extra harmony)
Let’s Make It
First, let’s get our vanilla bean working for us. In a medium saucepan, combine the cream, milk, about half of the sugar, and the salt. Take your vanilla bean and slice it right down the middle lengthwise. Use the back of your knife to scrape out all the beautiful, sticky seeds inside. Add both the seeds and the empty pod to the saucepan. Heat this over medium heat, stirring occasionally, until it’s just barely starting to steam. You want it hot, but not boiling. Turn off the heat, pop a lid on it, and let it steep for 30 minutes. This is the secret—letting that vanilla flavor really infuse the cream.
Now, in a separate medium bowl, whisk together your egg yolks and the remaining sugar until the mixture is pale, thick, and falls off the whisk in a lazy ribbon. This is your arm workout for the day, but it’s worth it for that creamy texture.
Time for the slightly scary part: tempering the eggs. Take the lid off your cream mixture—see all those lovely little black specks?—and give it a stir to re-warm it slightly. Now, while whisking the egg yolks constantly, slowly drizzle in about a cup of the warm cream. Go slow! If you pour it in too fast, you’ll make sweet vanilla scrambled eggs, and we don’t want that. Once that cup is incorporated, you can pour the entire egg mixture back into the saucepan with the remaining cream.
Cook this over low heat, stirring constantly and scraping the bottom with a spatula, until the custard thickens enough to coat the back of the spoon. You should be able to run your finger through it and have the line hold. This usually takes about 5-7 minutes. Don’t rush it.
Immediately strain the custard through a fine-mesh sieve into a clean bowl. This catches any little bits of cooked egg and, most importantly, that spent vanilla bean pod. Stir in the vanilla extract. Press a piece of plastic wrap directly onto the surface of the custard to prevent a skin from forming (a habit I picked up from my grandma), and chill it for at least 4 hours, or better yet, overnight. Patience, I know. It’s hard.
Pour the thoroughly chilled custard into your ice cream maker and churn according to the manufacturer’s instructions. It’s ready when it looks like soft-serve. Transfer it to a loaf pan or an airtight container, press more plastic wrap on the surface, and freeze until firm, about 4-6 hours.
Nutritional Facts (Per 1/2 Cup Serving)
| Nutrient | Amount |
|---|---|
| Calories | ~ 290 kcal |
| Protein | 4g |
| Carbohydrates | 24g |
| Fat | 20g |
| Fiber | 0g |
| Sugar | 23g |
| Note: Values are estimates |
Variations & Add-Ins
- Bourbon Vanilla: Add a tablespoon of good bourbon along with the vanilla extract. It enhances the vanilla flavor and keeps the ice cream a bit softer.
- Vanilla Bean & Honey: Replace half the sugar with a good, flavorful wildflower honey.
- Crème Fraîche Swirl: After churning, layer the ice cream with generous dollops of cold crème fraîche for a delightful tang.
Serving Ideas
- Obviously, it’s a star on its own.
- My ultimate comfort dessert: a warm slab of my “Fallen Apple Cake” with a scoop of this melting over the top.
- For a dinner party, serve it with a tiny cup of rich espresso for affogato. It’s pure magic.
Storage & Reheating
- Store in an airtight container in the freezer for up to 2 weeks. (It never lasts that long in my house).
- Let it sit on the counter for 5-10 minutes before scooping to soften up.
My Two Cents
Don’t throw away that vanilla bean pod after steeping! Rinse it, let it dry completely, and bury it in a jar of sugar. In a week or two, you’ll have the most incredible vanilla sugar for your coffee or baking.
You Asked, I’m Answering
- “Can I just use vanilla extract?” You can, but you’ll miss the deep, floral notes of the real bean. If you must, use 2 full teaspoons of a really good extract and add it with the cream at the beginning.
- “My ice cream is rock hard!” This is the curse of homemade ice cream. The alcohol in the bourbon variation helps, but the real trick is letting it warm up a bit on the counter before you try to scoop it. It makes all the difference.