Let’s be real. Most fruit salads are a sad affair. A few pale cubes of melon, some soggy apple chunks, maybe a lone, weeping strawberry. They’re the afterthought on the picnic table, the thing you push around your plate. I’ve had too many of those in my life. But the fruit salad I’m going to give you? This is different. This is the one my Nana used to make for special Sunday dinners.
She didn’t have a recipe, of course. It was a pinch of this, a glug of that. But the secret wasn’t in the fruit itself—it was in the syrup. A simple, fragrant syrup she’d whip up that kept the fruit from browning and made the whole bowl taste like it was kissed by sunshine. This is my perfected version of her method. It’s the only fruit salad I make now, and it’s the first thing to disappear at every potluck. It’ll make a believer out of you.
Quick Look
| Prep | Cook | Total | Feeds | Level |
|---|---|---|---|---|
| 20 mins | 5 mins | 25 mins | 8-10 People | Easy |
Why You’ll Love This Recipe
- It doesn’t get watery or brown. The light syrup protects the fruit, so it stays beautiful for hours.
- The flavor is incredible. The syrup infuses the fruit with a subtle, floral citrus note.
- It’s endlessly adaptable. Use whatever ripe, beautiful fruit you can find.
- It feels elegant. This isn’t a thrown-together side; it’s a deliberate, beautiful part of the meal.
**Grab These
You’ll need a small saucepan and a very large, beautiful bowl for serving.
For the Syrup:
- ⅓ cup Honey
- ⅓ cup Fresh Orange Juice (from about 1 large orange)
- Zest of 1 Orange
- 2 tbsp Fresh Lime Juice (from about 1 lime)
- 1 tsp Vanilla Extract
- A tiny pinch of Salt (trust me, it makes the flavors pop)
For the Fruit: (This is my favorite combination, but use what you love!)
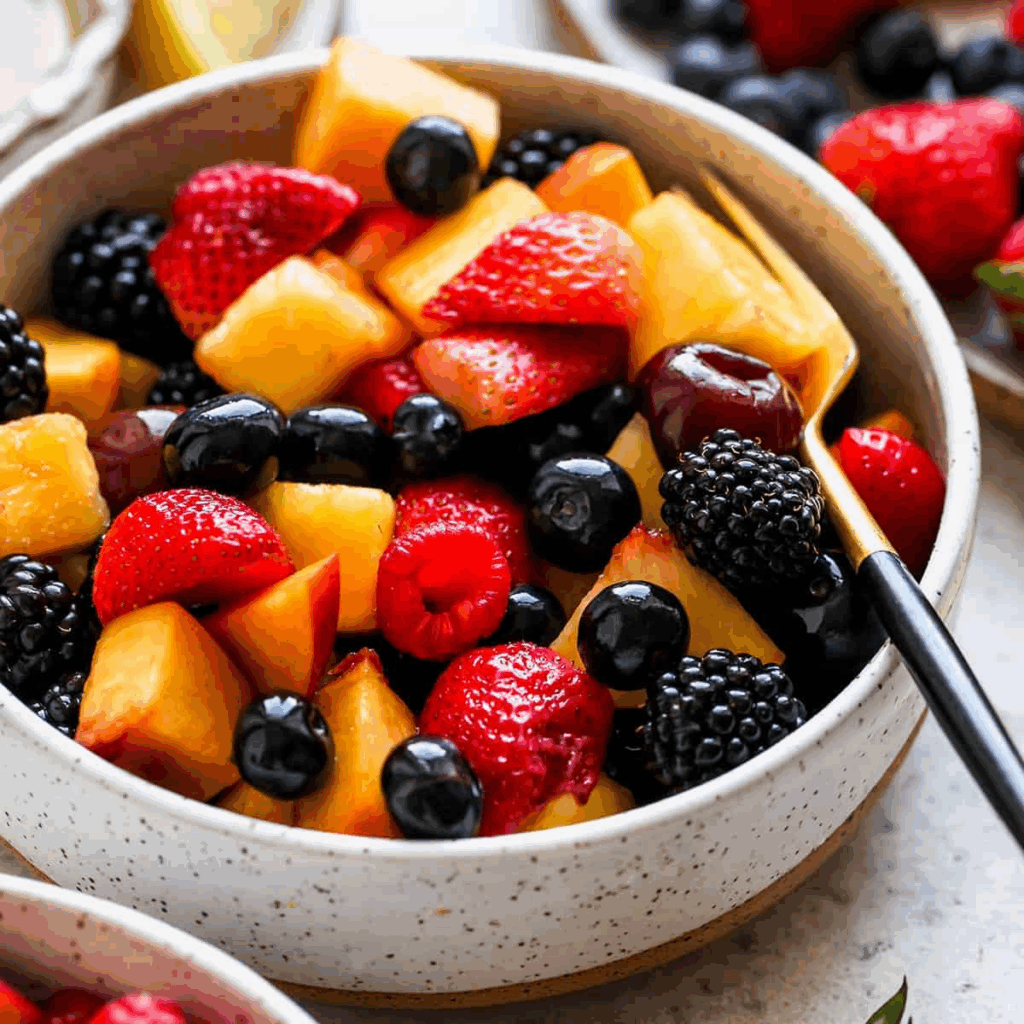
- 2 cups Strawberries, hulled and halved
- 1 ½ cups Pineapple Chunks
- 1 ½ cups Blueberries
- 2 Kiwis, peeled and sliced
- 1 cup Green Grapes, halved
- 2 Mandarins (like Clementines), peeled and segmented
- ½ cup Fresh Mint Leaves, thinly sliced
**Let’s Make It
First, we make the magic syrup. In your small saucepan, combine the honey, orange juice, and orange zest. Warm it over medium heat, stirring, just until the honey has dissolved and the mixture is thin and fluid. This should only take 2-3 minutes. Do not let it boil! You’re not making candy; you’re just melting the honey.
Take the pan off the heat and immediately stir in the lime juice, vanilla extract, and that tiny pinch of salt. The reason we add the lime juice off the heat is to preserve its bright, fresh acidity. Let this syrup cool down to room temperature. You can speed this up by placing the pan in a bowl of ice water.
While the syrup is cooling, prep all your fruit and add it to your large serving bowl. This is where you can get creative. The only rule is to use ripe, in-season fruit for the best flavor. Gently toss it all together.
Once the syrup is completely cool, pour it over the fruit. Add most of the sliced mint (save a little for garnish), and toss everything together, gently but thoroughly. You want every piece of fruit to have a little glisten.
Now, the hardest part: walk away. Let it sit for at least 15 minutes before serving. This allows the flavors to meld and the syrup to work its way into the fruit. Give it one more gentle toss right before you bring it to the table.
Nutritional Facts (Per Serving)
| Nutrient | Amount |
|---|---|
| Calories | ~ 110 kcal |
| Protein | 1g |
| Carbohydrates | 28g |
| Fat | 0.5g |
| Fiber | 3g |
| Sugar | 23g |
| Note: Values are estimates |
Variations & Add-Ins
- Summer Berry Bliss: Use all berries—strawberries, raspberries, blackberries, blueberries. The syrup is just gorgeous with them.
- Tropical Vacation: Use mango, papaya, star fruit, and passion fruit. Add a tablespoon of shredded coconut to the syrup as it cools.
- Herb Garden: Swap the mint for fresh basil or tarragon. It sounds weird, but the anise-like flavor of tarragon with stone fruits like peaches and plums is divine.
Serving Ideas
This is spectacular all on its own. But I also love it spooned over vanilla ice cream or Greek yogurt. For a fancier dessert, layer it with whipped cream or coconut cream in a glass for a stunning parfait. It’s also the perfect, refreshing side to a rich, savory brunch dish like quiche or french toast.
Storage & Reheating
This salad is best eaten the day it’s made. However, it will keep, covered in the fridge, for up to two days. The syrup will prevent it from turning into a total mush, but the softer fruits like strawberries and kiwi will soften over time. I do not recommend freezing it.
My Two Cents (Pro-Tip)
The single most important step is letting the syrup cool completely before you pour it over the fruit. If you pour warm syrup on delicate fruit like berries, you’ll essentially start to cook them, making them soft and mushy. Cool syrup = perfect texture. Also, don’t skip the zest! The orange zest adds an essential, fragrant oil that you just don’t get from the juice alone.
You Asked, I’m Answering (FAQ)
“Can I use maple syrup or agave instead of honey?”
Absolutely. Any liquid sweetener will work here. The flavor will change slightly, but it will still be delicious.
“My fruit salad got a little watery after a day. What can I do?”
Don’t toss it! That lightly flavored liquid at the bottom is gold. Strain it out and use it to flavor sparkling water, pour it over pancakes, or mix it into a vinaigrette.
“Can I use frozen fruit?”
I wouldn’t for this specific recipe. Frozen fruit releases too much water as it thaws and will make the whole salad soupy. Stick with fresh for the best results.