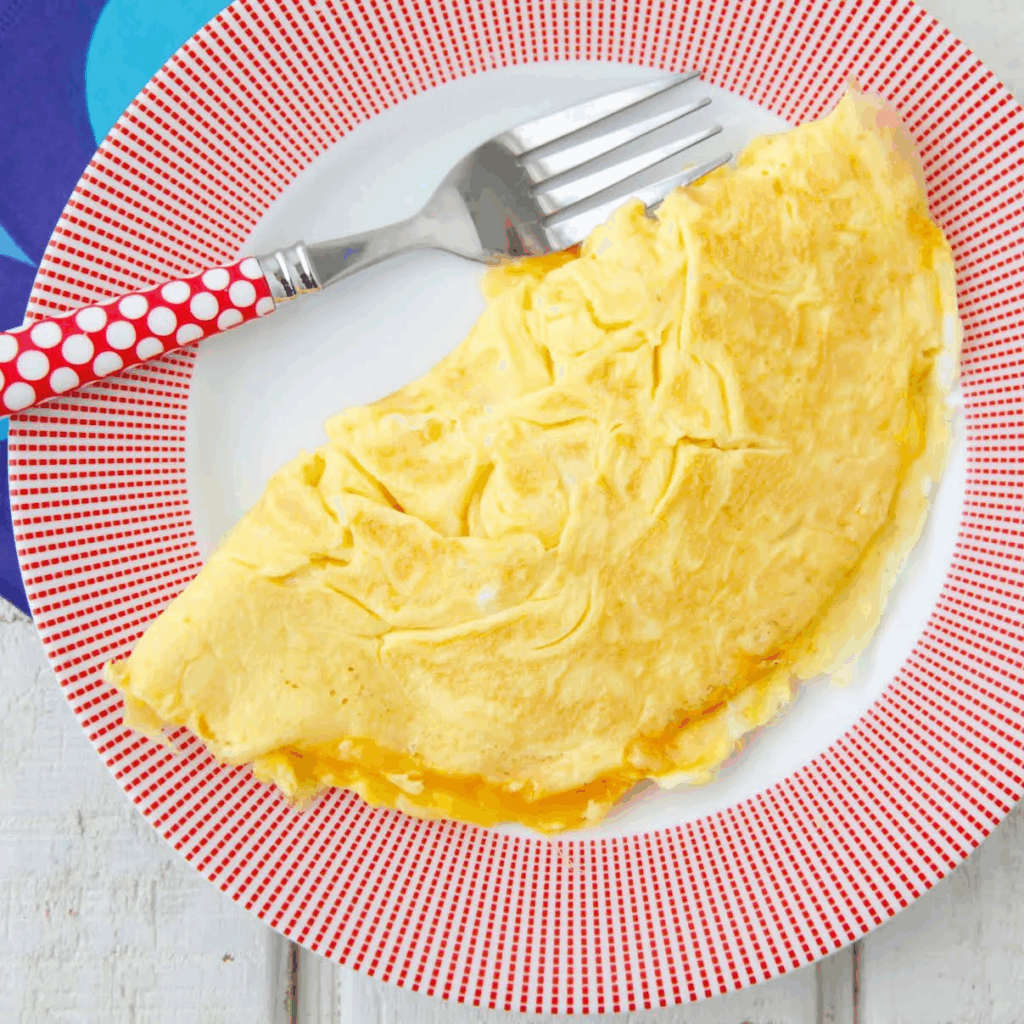
I’ll never forget the first time I made a cheese omelette for my daughter. She was about four, perched on the kitchen counter, her little legs swinging. I was trying to be fancy, you know? Flipping it with a dramatic wrist, aiming for that perfect golden fold. It tore. It was a mess. A cheesy, delicious, glorious mess. She looked at it, then at me, and declared, “It’s perfect, Mama. It looks like a smile.” And that’s when I realized—a perfect omelette isn’t about a flawless exterior. It’s about the love and the melted cheese tucked inside. It’s the breakfast of champions, of hurried mornings, of quiet, hopeful solo dinners. It’s a hug from the inside.
Quick Look
| Prep | Cook | Total | Feeds | Level |
|---|---|---|---|---|
| 3 mins | 4 mins | 7 mins | 1 | Easy |
Why You’ll Love This Recipe
- It’s your culinary blank slate. Master this, and you can make a hundred different meals from one simple technique.
- Speed is the name of the game. From fridge to plate in under 10 minutes. Seriously.
- It’s comfort food at its most pure and uncomplicated. No fuss, just flavor.
- The ultimate clean-out-the-fridge meal. That little nub of cheddar, the last of the parmesan? They all have a home here.
Grab These
- The Eggs: 2 large, cold from the fridge. (Trust me on the cold part, I’ll explain why in a bit.)
- The Fat: 1 tablespoon unsalted butter. (I’m a butter evangelist for omelettes. Oil just doesn’t give you the same flavor or that beautiful, lightly-browned surface.)
- The Dairy: 1 tablespoon whole milk or a heavy splash of heavy cream. (Water is a sad substitute. We’re building richness here.)
- The Cheese: 1/3 cup (packed!) of shredded cheese. My go-to is a mix of sharp cheddar for punch and a little Monterey Jack for that epic melt. Gruyère? Divine. Gouda? Yes, please.
- The Seasoning: A good pinch of kosher salt and a few cracks of freshly ground black pepper. That’s it. Don’t overcomplicate it.
Let’s Make It
Alright, let’s get down to it. First, crack your cold eggs into a bowl. Cold eggs are easier to separate if a yolk breaks, but more importantly, they whisk up fluffier. Don’t ask me the science, it’s just one of those kitchen truths my Nana swore by. Add your milk or cream, salt, and pepper. Now, whisk them like you mean it. You’re not just mixing; you’re incorporating air. You want them to be uniform in color and just a little frothy on top. Have your cheese measured and ready to go. This moves fast, and you don’t want to be scrambling (pun intended) when the time comes.
Here’s the most important step: heat your 8-inch non-stick skillet over medium heat. Not high. Medium. Let it get properly warm for a good minute. Now, add your butter. It should sizzle gently, then foam, but not turn brown. If it browns immediately, your pan is too hot. Swirl it around to coat the entire bottom and a little bit up the sides.
Pour in your eggs. They should start to set immediately at the edges. Let them cook, undisturbed, for about 15-20 seconds. Then, with a heatproof spatula, gently push the cooked edges toward the center, tilting the pan to let the raw, runny egg fill in the gaps. Do this in a few places around the omelette. You’re creating those lovely, soft curds.
Now, the grand finale. When the top is still a little wet and shiny, but the bottom is set, it’s cheese time. Sprinkle your glorious cheese over one half of the omelette. Don’t be shy. Using your spatula, gently lift the other, cheeseless side and fold it over the cheesy half. It doesn’t have to be a perfect half-moon. A messy fold is a happy fold, as my daughter would say. Let it cook for another 30 seconds to melt the cheese, then slide it gracefully (or, in my case, clumsily) onto a plate.
Nutritional Facts (Per Serving)
| Nutrient | Amount |
|---|---|
| Calories | ~ 420 kcal |
| Protein | 28g |
| Carbohydrates | 2g |
| Fat | 34g |
| Fiber | 0g |
| Sugar | 1g |
| Note: Values are estimates |
Variations & Add-Ins
- The “Kitchen Sink”: Before you add the eggs, sauté a tablespoon of finely diced onion and a slice of chopped ham in the butter. Pour the eggs over the top and proceed.
- Herb Garden Delight: Stir a tablespoon of fresh, soft herbs (chives, parsley, tarragon) into the egg mixture right before you pour it into the pan.
- French Bistro Style: Use only Gruyère cheese and add a teaspoon of finely chopped fresh chives to the eggs before cooking.
Serving Ideas
I love this with a big handful of peppery arugula dressed with just a squeeze of lemon juice right on the side. The sharpness cuts through the richness of the eggs and cheese perfectly. It’s also a dream next to buttery, crisp toast soldiers for dipping into the runny cheese. For a weekend treat, I’ll pair it with some pan-fried cherry tomatoes that have burst open in a little olive oil.
Storage & Reheating
Let’s be real, this is best eaten immediately. But if you have a rare leftover half, let it cool completely, wrap it tightly in plastic wrap, and store it in the fridge for up to a day. Reheating is tricky. The microwave will make it rubbery. Your best bet is a low oven (around 300°F) for 10-15 minutes, or gently in a skillet over low heat.
My Two Cents
Don’t over-stir! After the initial push-to-the-center, let the omelette cook. A little bit of a golden, lacy crust on the bottom is a beautiful thing. A dry, overcooked omelette is the real tragedy here, not a torn one. Embrace the jiggle.
You Asked, I’m Answering
- “My omelette always sticks! What am I doing wrong?” Two things: your pan isn’t non-stick enough (I replace mine yearly, it’s a worthy investment), or you’re not using enough fat. Don’t be scared of the butter.
- “Can I use egg whites?” You can, but you’ll lose that rich, custardy texture. It’ll be more…spongy. If you must, use three egg whites and a splash of whole milk for the best result.
- “Why did all my cheese leak out?” You probably added the cheese too late, after the egg had fully set. The cheese needs a wet, sticky surface to adhere to. Timing is everything!