I’ll never forget the specific, waxy smell of the red plastic jar my mom kept in the fridge. It wasn’t fancy jam; it was the stuff that came with the pancake breakfast at the diner, the little single-serving packets she’d sneak into her purse because, well, waste not, want not. On Saturday mornings, she’d let me tear them open myself, my small fingers struggling with the foil seal, and I’d smear the impossibly bright, sweet strawberry goo onto warm, butter-soaked toast. It was my first taste of feeling like I’d cooked something all by myself. To this day, a properly made jam and butter toast feels less like a snack and more like a tiny, edible hug. It’s a deceptively simple thing, but oh, my friend, there is an art to it. Let’s get it right.
Quick Look
| Prep | Cook | Total | Feeds | Level |
|---|---|---|---|---|
| 2 mins | 3 mins | 5 mins | 1 Person | Easy |
Why You’ll Love This Recipe
- It’s a 5-minute masterpiece. From craving to comfort in the time it takes your kettle to boil.
- Endlessly customizable. Swap the jam, change the bread, and you have a whole new experience.
- It’s a vehicle for memories. This isn’t just toast; it’s the taste of your childhood, your grandmother’s kitchen, a quiet moment all to yourself.
- It teaches you about texture. The perfect bite has crispness, creaminess, and fruitiness all at once.
Grab These
- 1 thick slice of good, sturdy bread (I’m a sourdough loyalist for its tangy contrast, but a soft brioche or a classic white sandwich bread works beautifully too)
- 1 tablespoon of high-quality, salted butter, softened (I swear by Plugrà European-Style for its rich flavor, but Kerrygold is a fantastic, more accessible option. And yes, it must be salted.)
- 1 ½ to 2 tablespoons of your favorite jam or preserves (This is where your personality shines. I’m using my friend’s homemade blackberry lavender jam today, but a classic Bonne Maman Strawberry Preserves is my pantry staple.)
Let’s Make It
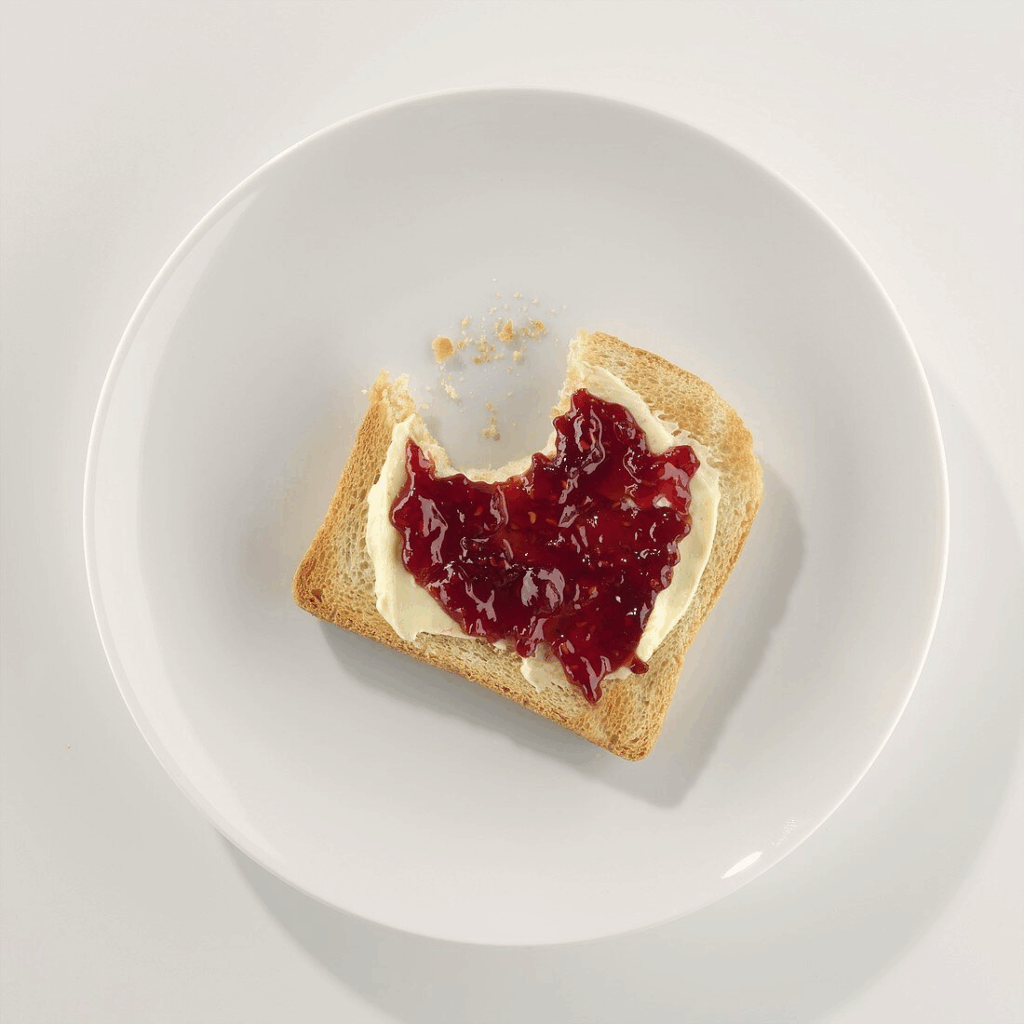
Okay, let’s talk bread. Don’t just grab any sad, floppy slice from the bag. You want something with some substance, something that can stand up to the butter and jam without going limp. My go-to is a solid, crusty sourdough. It toasts up with a fantastic shatter-crisp exterior and a chewy, airy interior. It’s a textural dream.
Now, the toasting. This is where most people go wrong. A toaster is fine, sure. But if you really want to elevate this to an art form, use your oven’s broiler or a cast-iron skillet. Why? Because you can toast one side more than the other. Trust me on this. Get one side beautifully, deeply golden brown and crisp. The other side should just be lightly warmed, maybe with a hint of color. This creates a textural barrier—the super-crispy side faces down against the plate, staying firm, while the softer side is your canvas for the butter.
Take your softened butter—and it really does need to be soft, not cold and tearing holes in your bread—and slather it onto the less-toasted side. You want a generous, even layer that goes all the way to the edges. The heat from the bread will start to melt it just so, creating tiny, flavorful pools.
Finally, the jam. Don’t just plop it in the middle and call it a day. Spoon your jam over the buttered surface and use the back of the spoon to spread it gently, right to the edges. The butter acts as a sealant, preventing the jam from making the toast soggy. You get a perfect, distinct layer of creamy, salty fat and a layer of sweet, fruity jam in every single bite.
Nutritional Facts (Per Serving)
| Nutrient | Amount |
|---|---|
| Calories | ~ 280 kcal |
| Protein | 5g |
| Carbohydrates | 45g |
| Fat | 10g |
| Fiber | 2g |
| Sugar | 25g |
| Note: Values are estimates and will vary based on your specific ingredients. |
Variations & Add-Ins
- The “Almost Danish”: Spread a layer of cream cheese under the jam. The tangy cream cheese with the sweet jam is a revelation. Add a little lemon zest if you’re feeling fancy.
- Savory-Sweet Twist: Use a really grainy, seedy bread and a sharp, aged cheddar cheese instead of butter. Top with a tart cherry or fig jam. It sounds wild, but it’s a game-changer.
- The Grown-Up Grill: Make it a jam and butter sandwich. Butter the outsides of two slices of bread, fill with jam and a thin layer of butter, and grill it in a pan like a grilled cheese. The warm, melted jam is next-level.
Serving Ideas
This is the ultimate standalone snack, but it also shines as part of a bigger spread. I love serving a platter of different jam toasts (apricot, raspberry, orange marmalade) alongside a big pot of tea when friends come over. It’s also the perfect sidekick to a soft-boiled egg for a quick, satisfying breakfast.
Storage & Reheating
Let’s be real, you don’t store this. You eat it immediately. Assembled toast does not keep. However, you can keep your bread, butter, and jam stocked and ready for assembly in under five minutes whenever the craving strikes.
My Two Cents (Pro-Tip)
Your butter must be at room temperature. I can’t stress this enough. Trying to spread cold butter on warm toast is a recipe for a torn, sad piece of bread and uneven distribution. Take your butter out of the fridge at least 30 minutes before you plan to make your toast. If you forget (I do all the time!), a few 5-second bursts in the microwave can work, but watch it like a hawk. You want it soft, not melted.
You Asked, I’m Answering (FAQ)
- “What’s the difference between jam, jelly, and preserves?”
Oh, I’m so glad you asked! Jelly is made from fruit juice, so it’s clear and smooth. Jam includes crushed fruit, so it has more texture. Preserves have even larger chunks of fruit. I’m a preserves girl through and through—I love those big bursts of fruit. - “My toast always gets soggy. What am I doing wrong?”
You’re probably spreading the jam on the bread first, then topping it with butter. Flip that order! The butter creates a fatty barrier that protects the bread from the jam’s moisture. Also, make sure your toast is truly toasted and not just warmed bread.